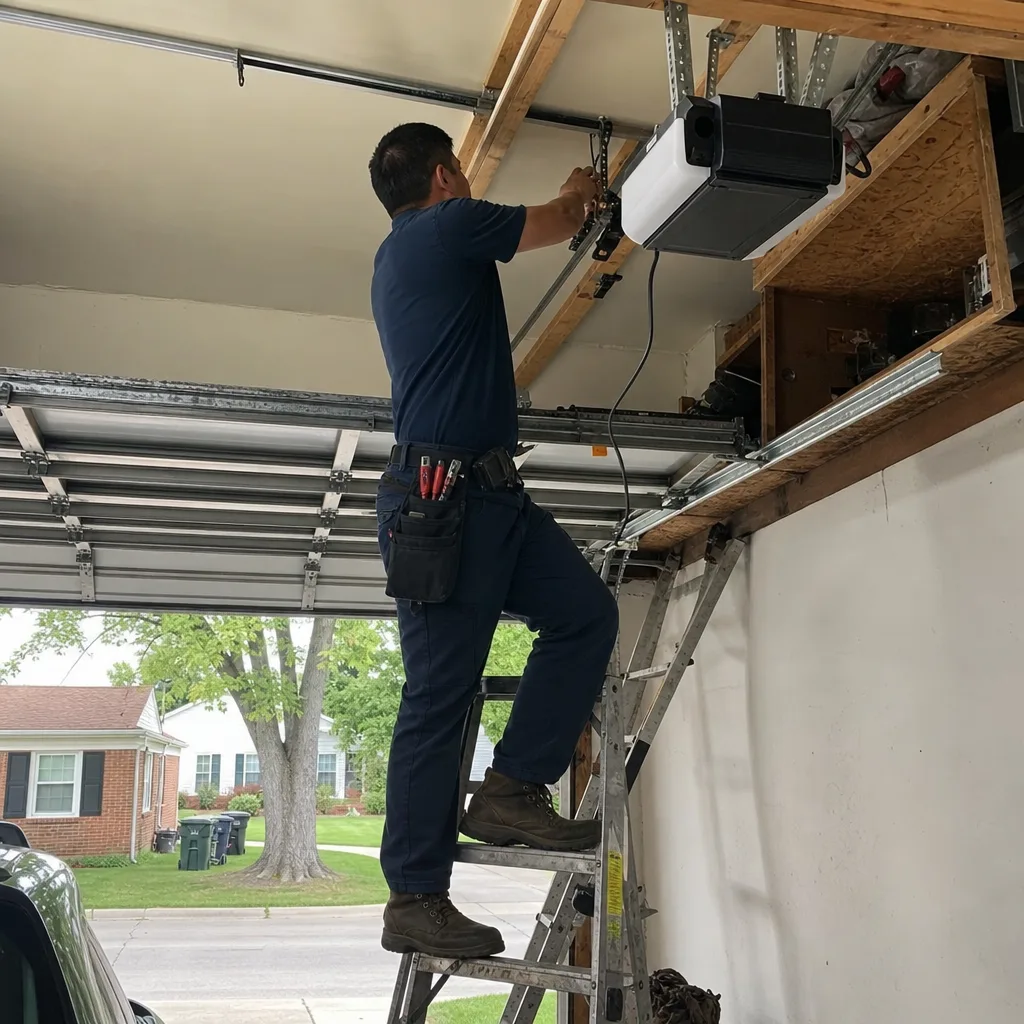
Last updated November 22, 2026
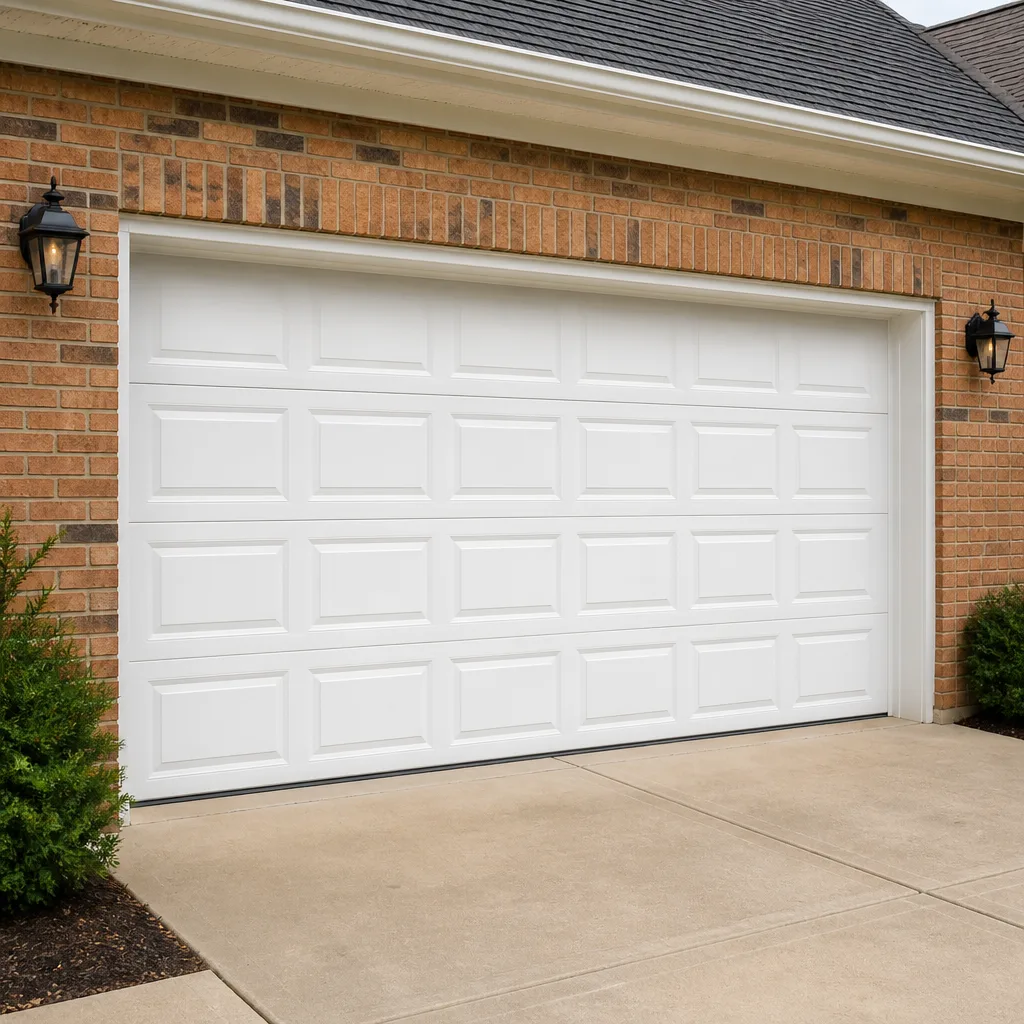 Raised-panel steel
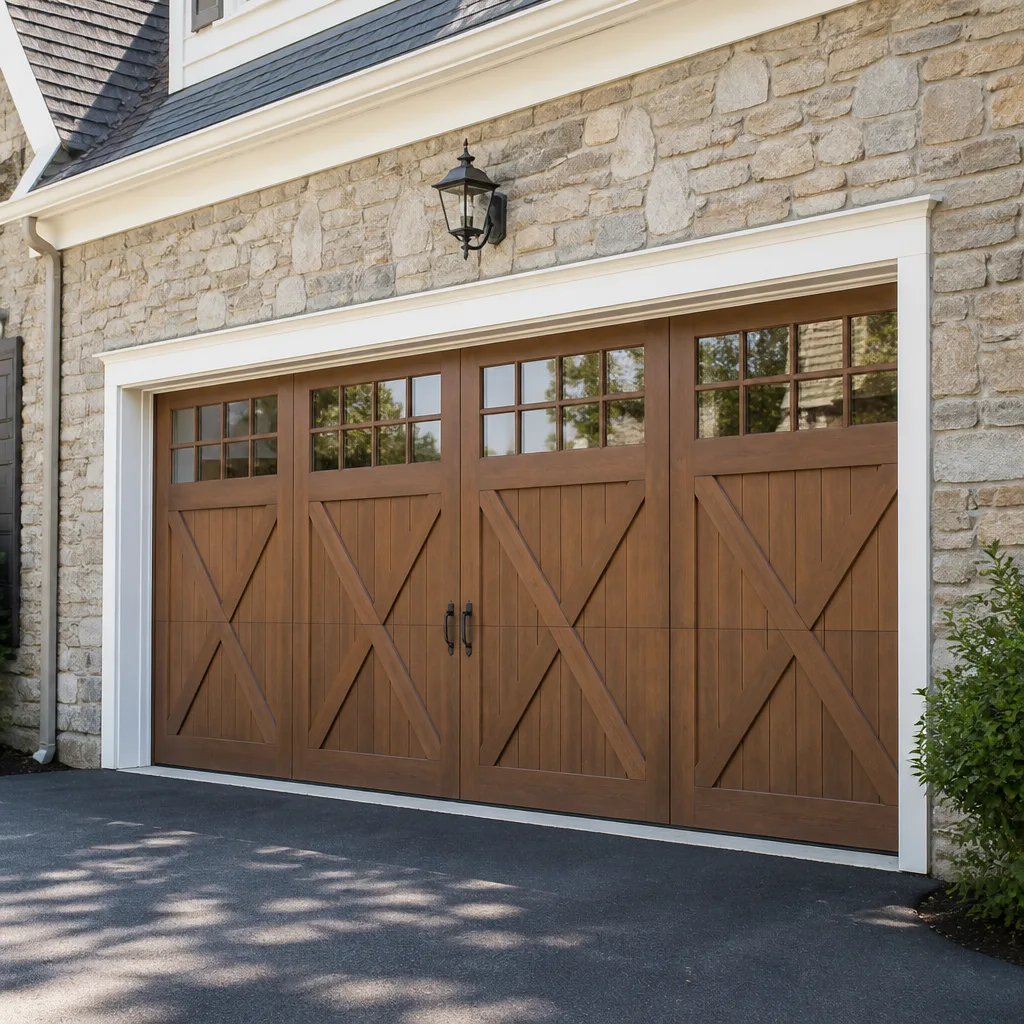 Carriage house
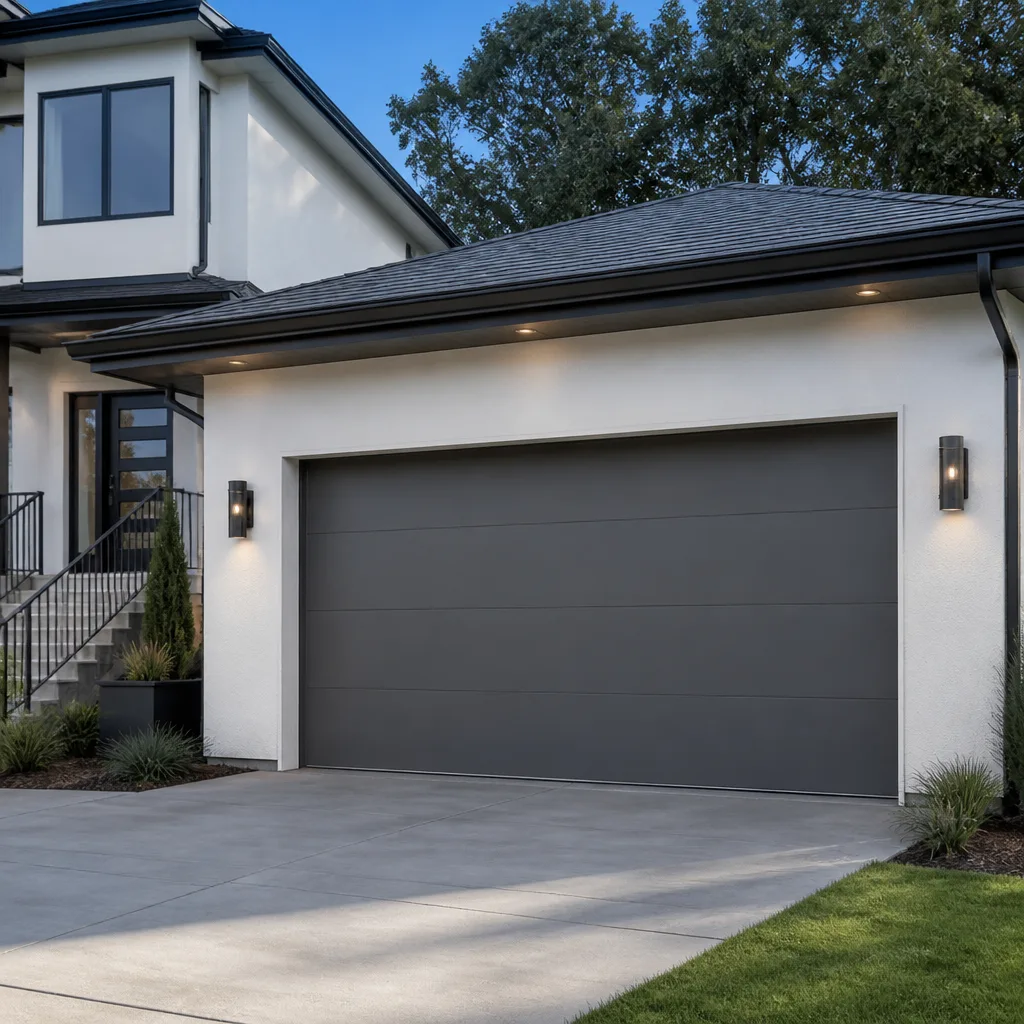 Modern flush
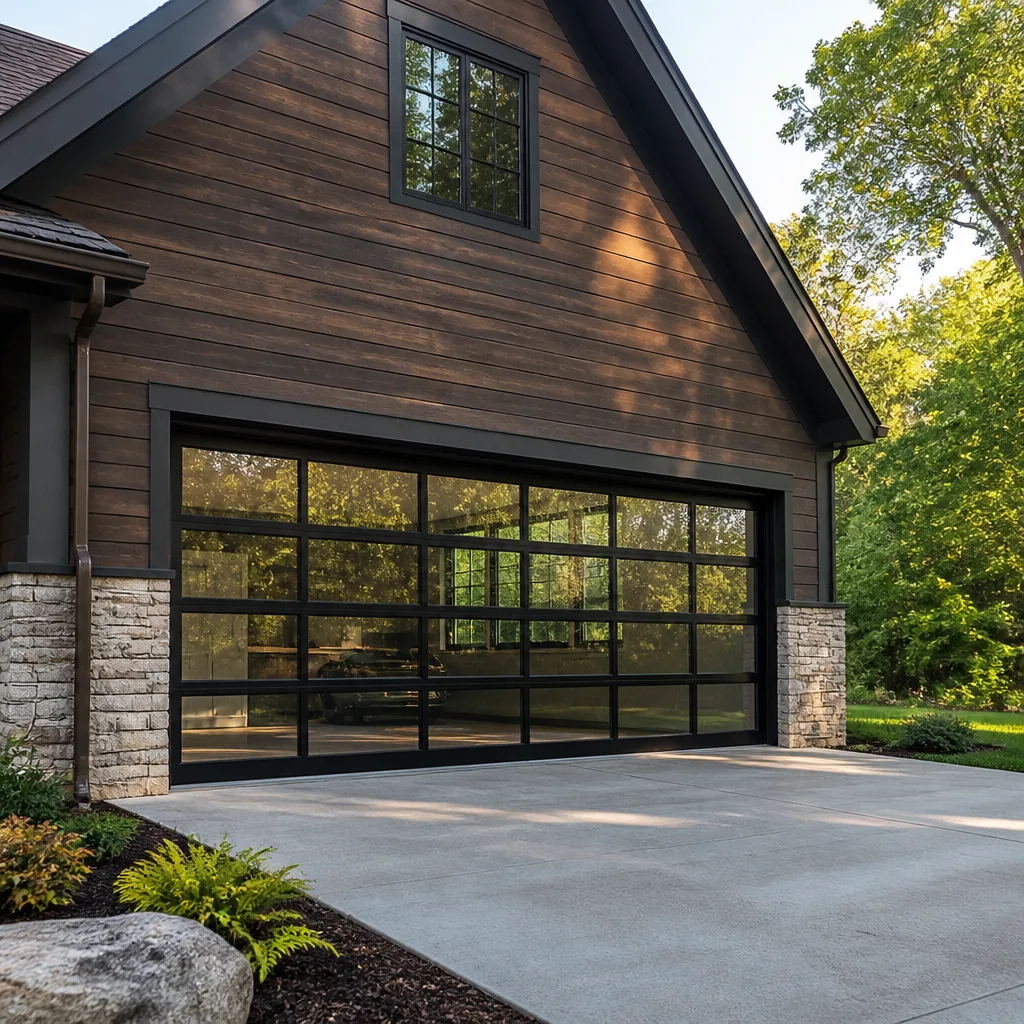 Full-view glass
 LiftMaster openers
 Chamberlain openers
Full 25-point door and opener safety check with every visit - springs, cables, rollers, tracks, and your LiftMaster or Chamberlain opener included
You get a price before we start. It does not change when the pro arrives.
Get your free estimateGarage Door Repair Maintenance Checklist for Florissant Homeowners
If your maintenance checklist doesn’t tell you what “bad” looks like, it’s not a checklist. It’s a liability disclaimer dressed up as advice. “Lubricate moving parts” and “inspect hardware” sound responsible, but they leave you standing in your garage with a rag and no idea whether what you’re looking at has two years left or two weeks. This guide is built the other way around: every item has an observable symptom and a pass/fail line you can actually judge. You’ll learn how to read spring coil gaps, spot a cable drum that’s winding unevenly, tell a tired nylon roller from a dead one, test your weather seal before a Florissant freeze, and calibrate opener force to real numbers rather than a vague push on the door.
Quick Answer
A garage door maintenance checklist for Florissant homes should cover eight checkpoints: torsion spring coil gaps, cable drum winding, roller type and condition, hinge and track wear, weather seal compression, opener force and auto-reverse settings, balance and travel limits, and fastener tightness. Each one has a visual or measurable pass/fail standard. Checking them twice a year – once before winter and once in spring – catches most failures while they’re still cheap to fix. Anything involving springs, cables, or the opener’s electrical components is inspection-only for a homeowner; a trained technician handles the repair.
Styles & brands we work with
- Raised-panel steel
- Carriage house
- Modern flush
- Full-view glass
- LiftMaster openers
- Chamberlain openers
Table of Contents
- How Do You Read Torsion Spring Wear Before It Fails?
- The Cable Drum Check Most Florissant Homeowners Skip
- Roller Inspection by Type: Nylon, Steel, and What Gray Means
- The Weather Seal Paper-Drag Test Before the First Freeze
- Opener Force and Auto-Reverse: The Numbers That Matter
- Balance, Travel Limits, and Track Alignment
- A Season-by-Season Maintenance Schedule for Florissant
- Brand-Specific Notes: What to Check on Common Local Hardware
How Do You Read Torsion Spring Wear Before It Fails?
A healthy torsion spring has tight, evenly spaced coils with no visible gaps between windings when the door is closed. A spring that’s nearing end of life shows a widening gap – sometimes a quarter inch or more – between individual coils, and that gap tends to appear unevenly, with one section spreading more than the rest. That spread is the spring losing tension, and it’s the earliest reliable sign you’ll get before a snap.
Springs are the highest-risk component on any garage door, and the reason is stored energy. A wound torsion spring holds enough force to cause serious injury, which is why we never suggest a homeowner adjust, unwind, or replace one. What you can safely do is look. Here’s what to check:
- Coil gaps: Run your eye along the length of the spring. Even, tight coils pass. Visible gaps between coils, especially clustered on one side, fail – that spring is losing tension and should be evaluated.
- Color and corrosion: Light surface rust on painted steel is normal in a Missouri garage. Heavy flaking, pitting, or rust bleeding onto the shaft is a fail – corrosion thins the wire and shortens life.
- Coil count and wire size: Note these on a new spring and compare yearly. A spring that’s been replaced with a different wire gauge than the door was engineered for will wear faster than it should.
- Lift effort: With the door disconnected from the opener, a properly balanced door lifts with one hand and stays put at mid-height. A door that feels heavy or slams down is telling you the spring has weakened.
A matched pair of springs is almost always replaced together, since both have lived the same number of cycles. If you’ve got a broken spring right now, that’s the most common call we get, and garage door spring repair is a job we handle as a specialty rather than an afterthought. In Florissant’s older housing stock, we often find springs that have cycled well past their expected life simply because nobody ever looked at the coil gaps.
The Cable Drum Check Most Florissant Homeowners Skip
The cable drums sit at each end of the torsion shaft, and the cable should wind around them in even, tight, parallel layers with no crossing and no slack. Uneven winding – where the cable piles up on one side of the drum or rides up over itself – is the warning sign most people miss, and it’s the one that precedes a lopsided drop. When a door goes down crooked, a drum or cable was usually telling you about it for weeks first.
Check both drums, one at a time, with the door fully closed:
- Look at the cable path. The cable should sit in the drum’s groove, wrapped evenly. A cable riding the edge or crossed over itself fails the check.
- Check for fraying. Run your eyes (not your hands) along each cable. Broken strands, kinks, or a cable that looks flattened rather than round means it’s compromised.
- Confirm drum set screws. Each drum is held to the shaft by set screws. A loose screw lets the drum slip, which throws the door out of level. Look for a drum that’s shifted position.
- Watch the door travel. Run the door up and down and watch each side. If one side lags or the door visibly tilts, stop and call – don’t keep cycling it.
A cable that’s jumped its drum or a door dropping on one side is a genuine safety situation, not a wait-and-see. Call and we’ll book emergency service for it, because a door that comes down hard is a hazard to anyone underneath. For everyday garage door repair like this, diagnosing the drum before the cable fails completely saves you a much bigger bill.
Roller Inspection by Type: Nylon, Steel, and What Gray Means
Rollers come in two main types, and they age differently – which is why a blanket instruction to “check the rollers” is useless. Nylon rollers are the quiet, common choice on newer doors. They start white or translucent and turn a light gray as they wear; that graying alone is normal and not a failure. The failure is when a nylon roller’s surface goes chalky, flat-spots, or wobbles in its stem, which signals the bearing inside has worn out. A roller that rattles as the door moves is on its way.
Steel rollers are the older standard, and they fail differently. A steel roller is fine until the bearing seizes and it starts sliding instead of rolling – you’ll hear a grinding or scraping as the door travels. Here’s the pass/fail breakdown:
- Nylon, light gray, spins freely, no wobble: Pass. Keep it.
- Nylon, chalky surface, flat spot, or wobble in the stem: Fail – bearing is going. Replace.
- Steel, rolls smoothly and quietly: Pass.
- Steel, grinding, squealing, or not turning at all: Fail – the bearing has seized. Replace.
- Any roller with a cracked or missing wheel: Fail immediately.
Rollers are one of the few parts where replacing all of them at once makes sense – they wear at similar rates, and a mixed set of old and new rollers throws off the door’s travel. When we look at a door with a garage door opener repair complaint, worn rollers are often the real culprit behind the noise, not the opener at all. In Florissant’s humid summers and cold snaps, we see nylon rollers age a little faster on doors facing west, where the afternoon heat works the material harder.
The Weather Seal Paper-Drag Test Before the First Freeze
The bottom weather seal passes if a sheet of paper dragged between the seal and the floor meets real resistance along its whole length. That’s the test. You don’t need a gauge. Slide a piece of standard printer paper under the closed door at several points – the corners, the middle, and a few spots between – and pull. If the paper slides out with no drag, the seal isn’t compressing against the floor, and cold air, moisture, and pests are getting in.
Why this matters more in Florissant than in milder climates: our winters bring repeated freeze-thaw cycles, and a seal that’s lost its compression lets meltwater wick under the door and refreeze. That’s the path to a frozen-to-the-floor door on a January morning, and it’s also how the seal itself cracks. The paper-drag test is your early warning, and it’s worth running in the fall before the first hard freeze rather than after.
What to look at on the seal itself:
- Compression: Paper drags everywhere – pass. Paper slides freely at one end – that seal has compressed or the door is sitting unevenly.
- Cracking: Rubber that’s hard, brittle, or split along its length has aged out. A flexible seal bends; a dead one cracks when you press it.
- Gaps at the corners: The floor and door edges rarely align perfectly. Corner gaps are common and indicate the seal needs adjustment or replacement.
- Side and top seals too: The same test works along the jambs. Run a finger (carefully, away from the door’s path) along the vertical seals to feel for separation.
Seal replacement is one of the few jobs a handy homeowner can consider, but if the test fails because the door is sitting unevenly, the seal is a symptom, not the cause. That points back to balance or a drum problem, and it’s worth a professional look.
Opener Force and Auto-Reverse: The Numbers That Matter
A garage door opener’s auto-reverse should trip when it meets roughly 15 to 25 pounds of resistance – that’s the safety standard most openers are calibrated to, and it’s the number to test against, not a guess. To check it, place a solid object like a 2×4 flat under the door’s path, close the door, and confirm it reverses on contact. Then test the photo-eye safety sensors at the bottom of the tracks by passing an object through the beam – the door should reverse immediately. If either test fails, the opener is out of spec and needs recalibration or repair.
The force setting is the second half. Every opener has a force adjustment, usually a screw or a digital setting, that controls how hard the motor pushes before it gives up. Set too high, the opener will force a door through an obstruction instead of reversing – dangerous. Set too low, the door won’t close fully because the opener reads normal resistance as a blockage. You want the lowest force setting that still moves the door reliably through its full travel.
Here’s the sequence to run every six months:
- Test balance first. Disconnect the opener and lift the door by hand. If it doesn’t hold at mid-height, the spring is weak and no opener adjustment will fix it.
- Test auto-reverse with an obstruction. A flat board under the door should stop and reverse it. If the door pushes down or stalls, the force is too high.
- Test the safety sensors. Pass an object through the beam. The door should reverse. Blinking sensor lights usually mean misalignment or a lens that needs cleaning.
- Check the force setting. If you have to adjust it repeatedly, something mechanical has changed – usually springs or rollers – and the opener is compensating for a problem elsewhere.
- Test travel limits. The door should open fully and close flush without the opener straining at either end.
Opener repair is not a job to improvise. The electrical components and the door’s stored energy work together, and a misadjusted opener is a real hazard. If your opener won’t hold its settings, the hardware underneath is telling you something. We work on the brand already in your garage – LiftMaster, Chamberlain, Genie, Craftsman, and others – so there’s no guessing whether the technician knows your system. For anything Garage Door Repair Florissant homeowners rely on for daily access, getting the opener back to spec is worth doing properly.
Balance, Travel Limits, and Track Alignment
A door passes the balance test if it holds its position at roughly the halfway point when you lift it by hand with the opener disconnected. If it drops, the springs are weak; if it rises on its own, they’re too strong. Both are fails, and both will eventually burn out the opener motor as it fights the imbalance. Run the balance test twice a year and any time the door starts behaving differently than it used to.
Track alignment is the other piece. The vertical and horizontal tracks should be parallel, plumb, and free of dents, with the door’s rollers sitting fully inside the track channels. Sight down each track like a pool cue – a bend or a bow shows up immediately. A door that jumps track, rubs on one side, or binds halfway is usually telling you a track has shifted, and that’s rarely something to fix by force. Banging a track back into place with a hammer tends to make it worse.
The pass/fail line on tracks and travel:
- Door runs smooth and level from fully closed to fully open: Pass.
- Door tilts, binds, or hesitates at one point in its travel: Fail – usually drum, spring, or track.
- Visible bend, bow, or dent in a track: Fail – evaluate before cycling the door further.
- Rollers riding the edge or popping out of the track: Fail immediately – stop using the door.
Garage door tracks aren’t structural to your home, but they’re precisely set for the weight of your specific door, which is why a Wayne Dalton or Amarr door wants its own track and hardware setup, not a generic one. In Florissant, where garages often face temperature swings across a season, tracks move slightly with the slab and framing – a small annual re-check catches it early. If the door’s left resting crooked, it’s worth a same-day look.
A Season-by-Season Maintenance Schedule for Florissant
Twice a year covers the essentials; the pieces that matter most shift with our seasons. Here’s how we’d pace it across the year for a Florissant home:
- Early fall (before first freeze): Run the paper-drag test on the bottom seal. Check for gaps at the corners and along the jambs. This is the time to catch a seal that will let cold air and meltwater under the door in January.
- Mid-fall: Inspect spring coil gaps and cable drum winding. Cold makes steel more brittle, so a spring on its way out is more likely to snap in winter than in summer.
- Before winter shutdown: Test opener auto-reverse and safety sensors. A door that’s about to sit through freeze-thaw cycles should be confirmed to reverse on obstruction.
- Early spring: Re-check seal compression (it may have taken a beating over winter), and look for rust on springs and hinges that developed over the wet season.
- Mid-summer: Inspect nylon rollers for chalkiness and wobble, and re-run the balance test. Heat softens nylon and can throw off a door that was fine in spring.
- Any time: Tighten the hinge and bracket fasteners you can safely reach. Loose fasteners are among the most common source of rattle and premature wear.
Each of these is a look-and-check, not a repair. The one exception is lubrication – a light application on hinges, rollers, and the opener’s moving parts helps, though it’s not a substitute for the fail checks above. If any checkpoint flags a real problem, the fix is a call, and garage door repair should be done before the next season works the problem harder.
Brand-Specific Notes: What to Check on Common Local Hardware
Most Florissant garages have one of a handful of common systems, and each brand has its own quirks worth knowing. A LiftMaster or Chamberlain opener (they share a lot of internal design) has force and travel settings you can check on the unit itself, and its safety sensors are the reverse of some older systems, so a blinking light usually means misalignment rather than a bad sensor. A Genie opener is common on older doors and tends to have a chain or screw drive whose force settings age differently from a belt drive. Craftsman units, often installed with the home decades ago, use a similar control scheme but are worth checking for worn drive gears as they age.
On the door and hardware side, a Wayne Dalton door with a proprietary track and roller system doesn’t always take standard replacements, which is why brand knowledge matters at the repair stage, not just the sales stage. An Amarr or Raynor door has its own panel profiles and hardware, and a Clopay door’s springs are matched to its specific weight. The point isn’t brand name-dropping – it’s that a technician who’s worked on that hardware already knows which parts are standard and which aren’t, and won’t improvise a replacement that throws off your door’s balance.
We work on the brand already in your garage, across LiftMaster, Chamberlain, Genie, Clopay, Amarr, Wayne Dalton, Craftsman, and Raynor. That covers the hardware you’re likely to find in a Florissant home, whether it’s a working original or something that’s been swapped out over the years. If your opener is misbehaving and you can’t tell whether it’s the unit or the door, the answer is usually in the door’s balance and travel, not the electronics.
Common Mistakes to Avoid
- Treating “lubricate moving parts” as the whole checklist. Grease quiets a worn part but doesn’t fix it. If your hinge is loose or your roller is wobbling, oiling it just delays the failure. Diagnose the part first.
- Continuing to cycle a door that’s dropped on one side. A lopsided door is a cable or drum problem in progress. Every cycle until it’s fixed risks a sudden drop. Stop using it and call.
- Adjusting the opener’s force setting to “fix” a heavy door. Cranking up the force is compensating for a weak spring. The opener motor will pay the price. Fix the spring, not the setting.
- Ignoring the bottom seal until winter. In Florissant’s freeze-thaw winters, a seal that’s lost compression lets water freeze under the door. Test in the fall, not after the first freeze.
- Assuming a noisy opener is the opener’s fault. Most “opener noise” comes from worn rollers or a dry, loose track. Check the door hardware before you replace the unit.
- Trying to replace a spring yourself. Torsion springs are stored energy. A spring that’s wound is dangerous even to touch in the wrong place. This is a professional job, full stop.
- Skipping the balance test. It’s the single fastest way to catch a weakening spring before it snaps, and it takes thirty seconds.
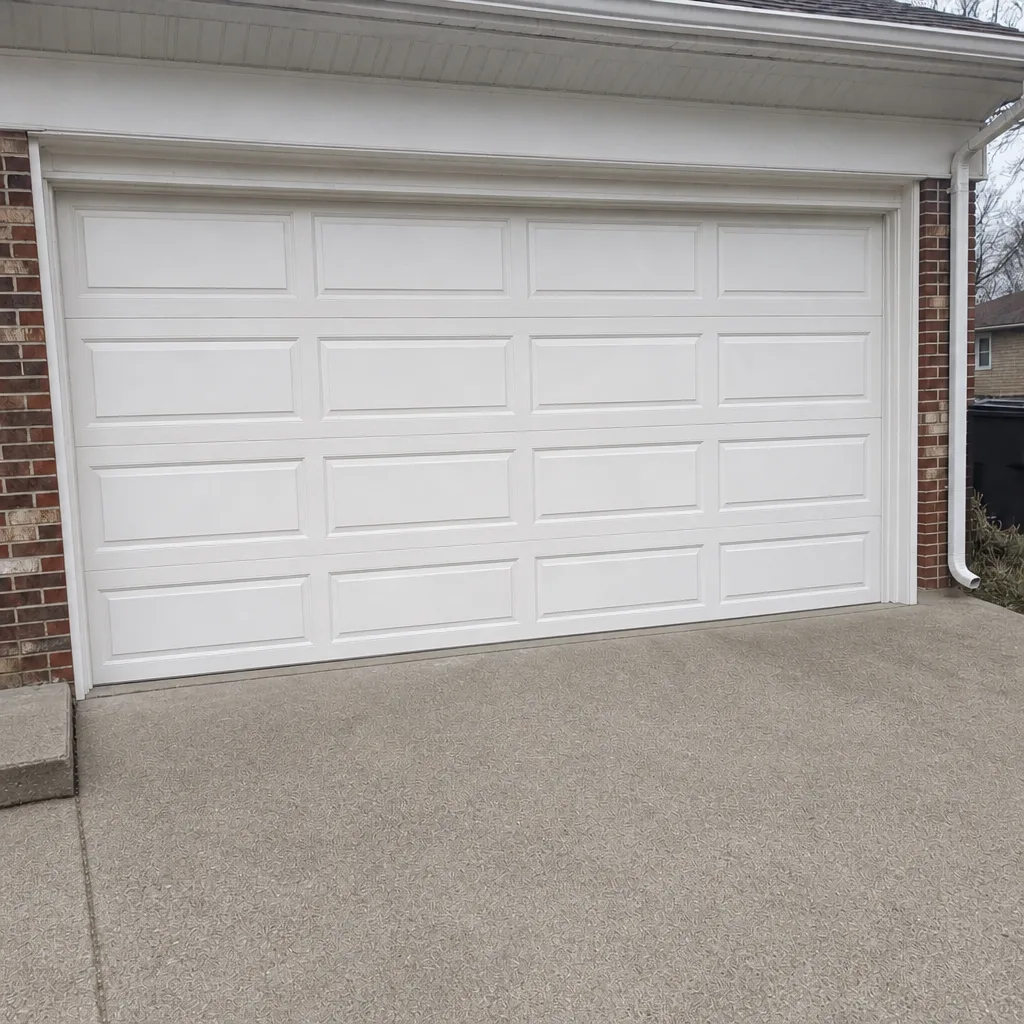
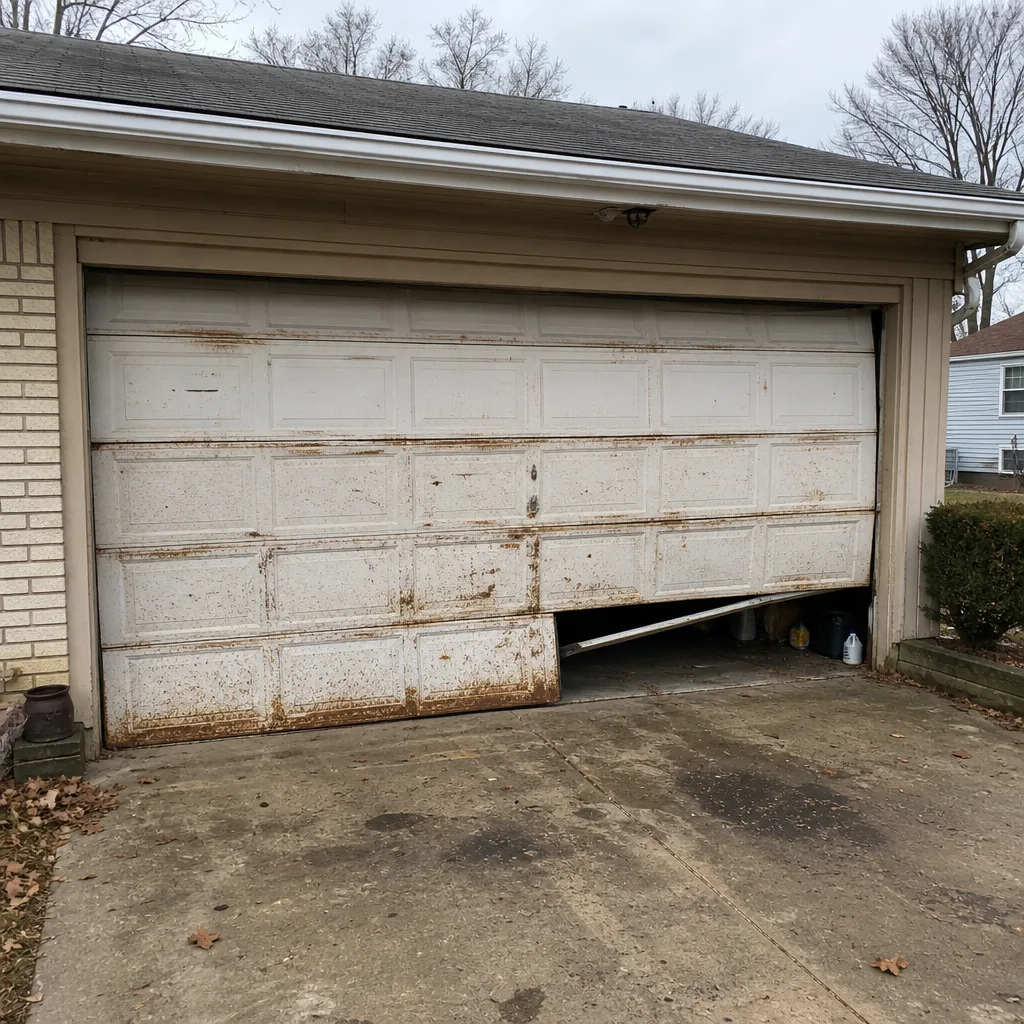
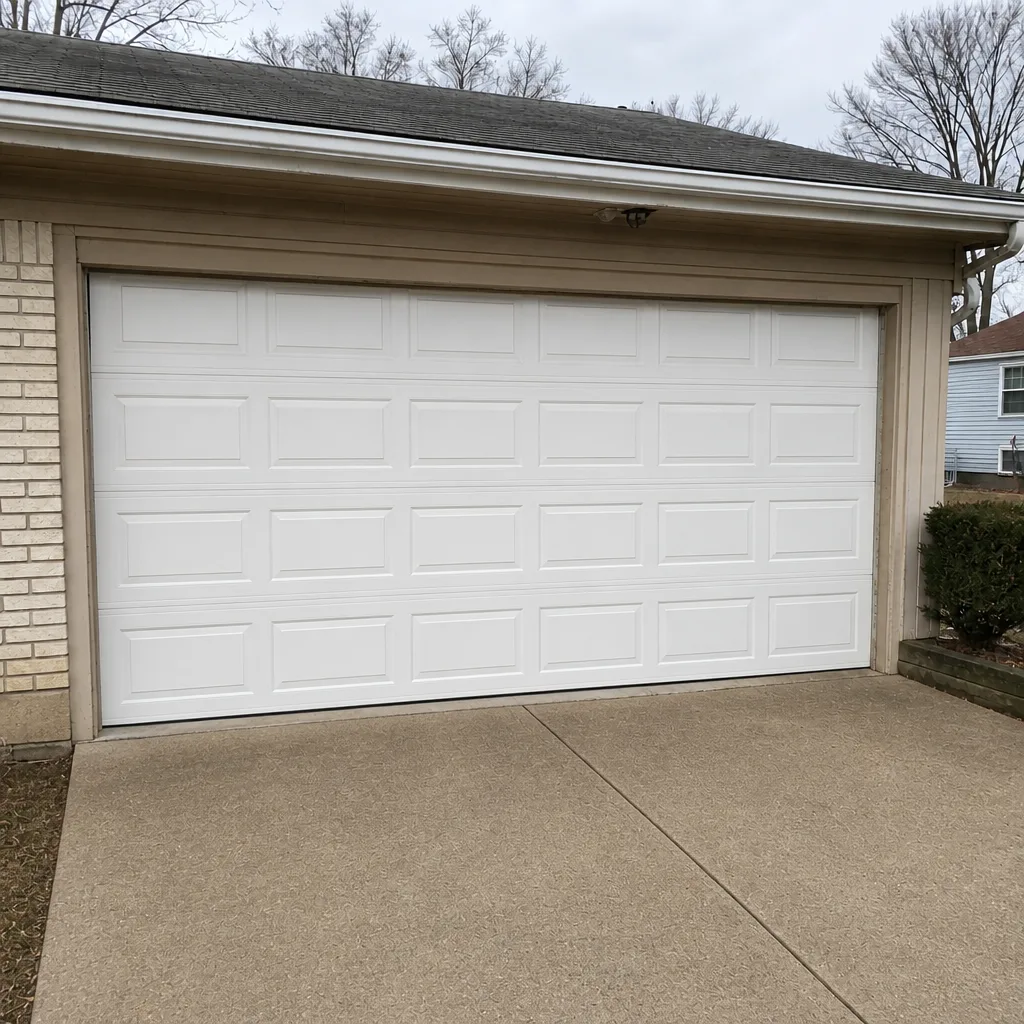
See the difference
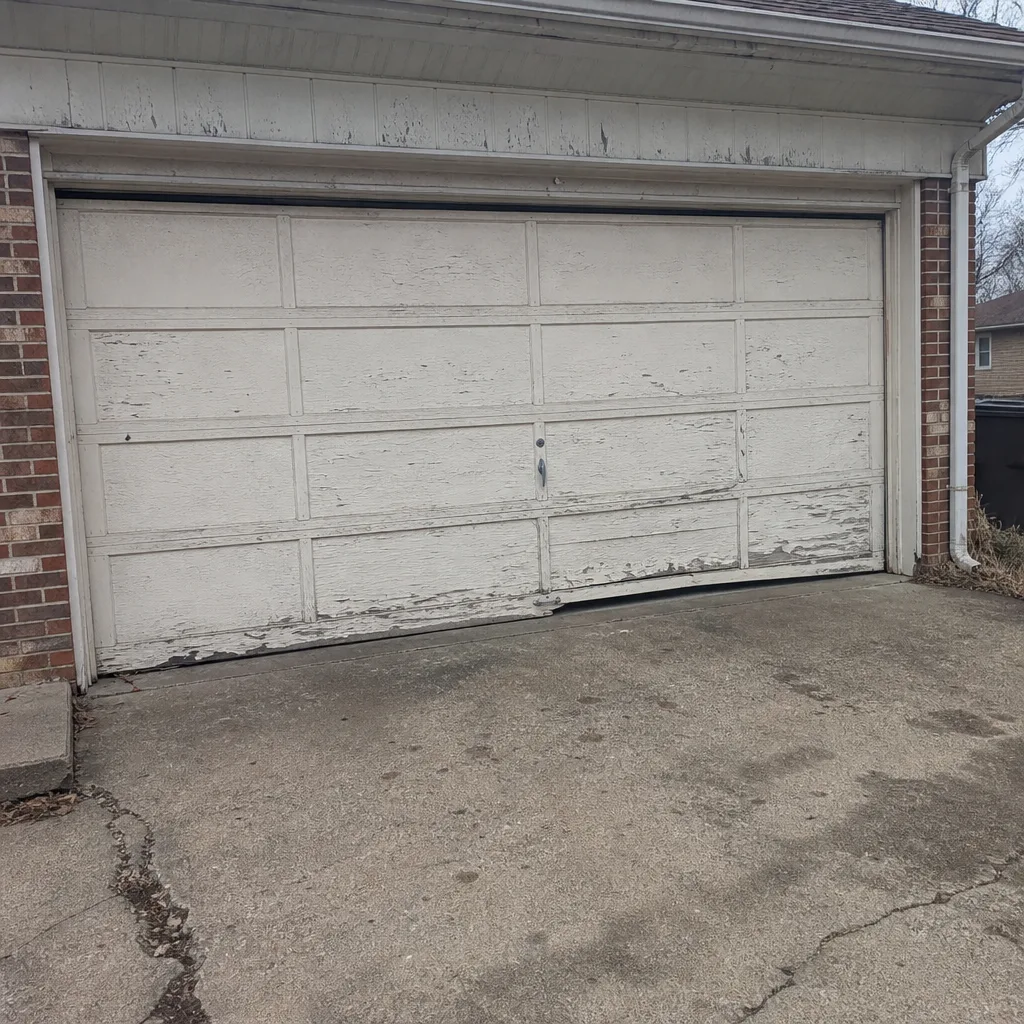 Before
 After
 Before
 After
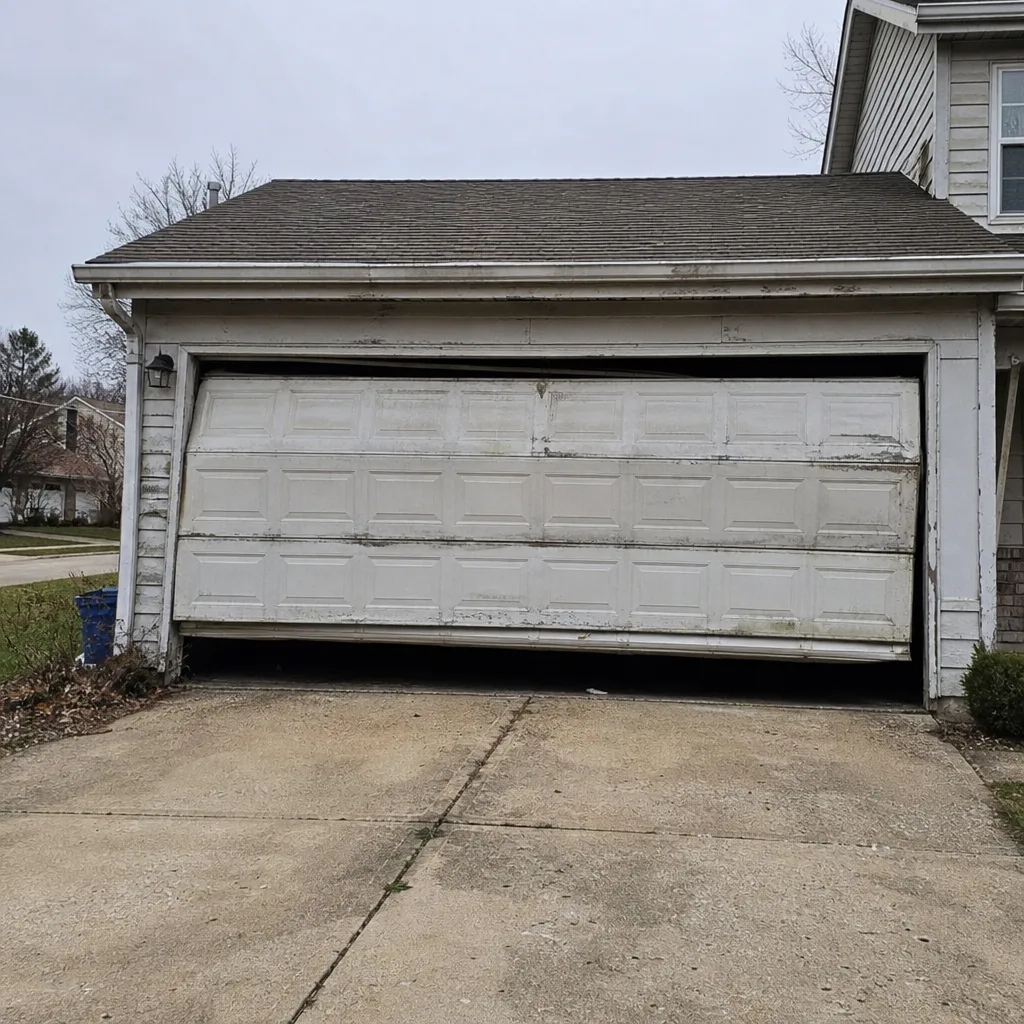 Before
 After
When to Call a Professional
Call for any of these: a broken or visibly weakening torsion spring; a door that’s dropped on one side or jumped its track; a cable that’s frayed, crossed, or loose; an opener that fails auto-reverse or won’t hold its force settings; or a bottom seal that fails the paper-drag test because the door is sitting unevenly. On the design and install side, call when the door’s panels are damaged beyond repair, when you’re replacing a door and need the frame and tracks to match the new weight, or when the opener is old enough that a repair isn’t worth it. For a broken spring or a door that won’t close, emergency service is available, and we’ll get it back in working order the same visit. Garage Door Repair Florissant offers free estimates in Florissant – call (844) 943-4245. Both the spring specialty and the opener side are covered by the same team, and our technicians have up to 9 years of experience.
Frequently Asked Questions
Twice a year is enough for most homes, with the fall check timed before the first hard freeze and the spring check after winter. The two seasonal passes catch the parts most affected by Missouri’s temperature swings. If your door gets heavy use or you notice new noise, run the checks sooner.
No. A torsion spring stores enough energy to cause serious injury, and even a “de-energized” spring can hurt you. The spring section here is for inspection only – spot the warning signs and call for garage door spring repair. The same applies to cables and drums.
Start with the rollers and hinges, not the opener. Grayish nylon rollers that wobble, steel rollers that grind, or loose hinge fasteners cause most door noise. If the opener is quiet but the door rattles, the hardware is the source.
Run the paper-drag test: close the door on a sheet of paper and pull. If it slides out with no resistance at several points, the seal has lost compression and should be replaced before the first freeze. Cracks and hard, brittle rubber are the other clear sign.
Often, yes – uneven coil gaps and a door that no longer holds at mid-height are early signals. A spring can still snap without warning, but the visual checks in this guide give you the best chance to replace it on your schedule. If you spot spreading coils, stop and call.
We work on LiftMaster, Chamberlain, Genie, Clopay, Amarr, Wayne Dalton, Craftsman, and Raynor, which covers the hardware in most Florissant garages. If you’re not sure of your brand, a photo of the door and opener is usually enough for us to identify it. For a door that won’t open, emergency service is available.
The Bottom Line
A maintenance checklist is only useful if it tells you what a fail looks like. This one does: spreading coil gaps mean spring wear, crossed cable winding means a looming lopsided drop, chalky nylon or grinding steel rollers mean bearing failure, a paper sliding under the door means seal compression is gone, and a door that won’t trip the auto-reverse test means the opener is out of spec. Run the checks twice a year – before the freeze and after it – and treat springs, cables, and electrical opener components as inspection-only. Our technicians have up to 9 years of experience with the hardware in Florissant garages, and Garage doors are all we do. Call (844) 943-4245 for a free estimate.
Written by the team at Garage Door Repair Florissant.